Bake the Perfect Red Velvet Cake at Home
Every home baker dreams of making that perfect Red Velvet Cake. It’s the kind that makes everyone want more. Baking the best red velvet cake is more than just following a recipe. It’s about turning simple ingredients into a magical dessert.
Red Velvet Cake is more than just a cake. It’s a classic American dessert with a rich cocoa flavor and a stunning red color. It’s a treat that will leave a lasting impression on your guests. Whether you’re new to baking or have years of experience, mastering this cake will take your skills to the next level.
In this guide, we’ll show you how to make a Red Velvet Cake that looks and tastes amazing. You’ll learn how to pick the right ingredients and get that velvety texture. By the end, you’ll know how to make a cake that will impress everyone.
Table of Contents
What is Red Velvet Cake?
Red velvet cake is a beloved dessert in the United States. It’s known for its deep red color and a hint of chocolate. This makes it different from other cakes.
This cake has a rich history in American culture. Between 1940 and 2014, its popularity changed a lot. By 2002, it was on just 1.5% of menus. But by 2013, that number jumped to 4.1%, showing it was becoming more popular.
The Historical Roots of Red Velvet Cake
The history of red velvet cake is fascinating. It became famous after the 1989 movie “Steel Magnolias.” But, in the 1970s, concerns about Red Dye #2 made it face challenges.
- Popular in Canadian department stores during the 1940s
- Appeared in cookbooks by the 1960s
- Experienced a cultural renaissance in the late 20th century
Essential Ingredients of a Traditional Red Velvet Cake
The secret to a great red velvet cake is in its ingredients. A classic recipe includes:
- All-purpose flour (89g)
- Natural unsweetened cocoa powder (1 tablespoon)
- Buttermilk (80ml)
- Red food color gel (1/2 teaspoon)
- Distilled white vinegar (1 teaspoon)
Each ingredient is key to the cake’s unique taste. Buttermilk and vinegar add a tangy flavor. Cocoa gives it a subtle chocolate taste that makes it special.
Essential Tools for Baking
To make an easy red velvet cake, you need more than just ingredients. The right tools can make baking fun and easy. Professional bakers say quality equipment is key to a great cake.
Before baking a tasty red velvet cake, gather the perfect tools. Your tools can greatly affect the cake’s success.
Bakeware Essentials
For a simple red velvet cake, you’ll need certain bakeware for the best results:
- 9-inch round cake pans (preferably two)
- Parchment paper rounds
- Cooling racks
- Cake boards (8-inch recommended)
Mixing Equipment to Master
The right mixing tools can make your easy red velvet cake recipe easier and more precise:
- Electric mixer (stand mixer or handheld)
- Glass mixing bowls
- Offset spatula
- Bench scraper
- Digital food scale
Quality baking tools can turn home baking into a fun adventure. With these essentials, you’ll be ready to make a beautiful red velvet cake that’s both stunning and delicious.
The Classic Red Velvet Cake Recipe
Making a homemade red velvet cake is a fun journey that turns your kitchen into a bakery. This easy recipe will help you make a stunning dessert that wows everyone.
Ingredients for Your Perfect Red Velvet Cake
- 270 g (2 ¼ cups) cake flour
- 36 g (6 tablespoons) unsweetened cocoa powder
- 322 g (1 ⅓ cups) buttermilk
- 8 g (3 teaspoons) red gel food coloring
- 500 g (2 ½ cups) granulated sugar
- 84 g (6 tablespoons) unsalted butter
- 4 large whole eggs
- 30 g (2 tablespoons) vanilla extract
- 2 ½ teaspoons apple cider vinegar
- 2 teaspoons kosher salt
Step-by-Step Baking Instructions
- Preheat your oven to 350°F (175°C)
- Sift together cake flour, cocoa powder, and salt
- Cream butter and sugar until light and fluffy
- Add eggs one at a time, mixing thoroughly
- Combine buttermilk, vanilla, and food coloring
- Alternate dry ingredients with liquid mixture
- Add vinegar for extra moisture and texture
- Pour batter into prepared 8-inch round pans
- Bake for 25-30 minutes until internal temperature reaches 190-200°F
- Cool completely before frosting
Your homemade red velvet cake will be moist, with 30-35% moisture. Pro tip: Always use room temperature ingredients for the best results!
Tips for Achieving the Best Flavor
To make the best red velvet cake, pay close attention to detail and use top-notch ingredients. The right cocoa powder and food coloring are key to enhancing both taste and look.
Baking experts say the secret to a great red velvet cake is knowing the special ingredients. These ingredients make the dessert truly stand out.
The Crucial Role of Cocoa Powder
Choosing the right cocoa powder can take your red velvet cake from good to amazing. Professional bakers suggest using Dutch-processed cocoa powder for a few reasons:
- Deeper, more intense chocolate flavor
- Smoother texture
- More consistent color distribution
“The quality of cocoa powder can make or break your red velvet cake’s flavor profile.” – Baking Experts
Mastering Food Coloring Selection
Choosing the right food coloring is crucial for a moist red velvet cake. Gel food coloring has several benefits over liquid:
- More concentrated pigment
- Minimal impact on cake texture
- Vibrant, consistent red color
Experts usually use 2½ tablespoons of gel food coloring for a standard cake. This gives a rich, even red color without affecting the cake’s texture.
For a top-notch red velvet cake, balance flavor, moisture, and looks. Use high-quality ingredients, and your cake will impress everyone.
Decorating Your Red Velvet Cake
Making a perfect red velvet cake with cream cheese frosting is an art. It turns your baking into something truly special. The right decorations can make your cake unforgettable.
Cream cheese frosting is the classic choice for red velvet cake. It offers a tangy contrast to the cake’s rich taste.
Frosting Showdown: Cream Cheese vs. Buttercream
There are two top frosting options for your red velvet cake:
- Cream Cheese Frosting: Traditional and tangy, with a smooth texture
- Buttercream: Sweet and versatile, offering more decorative possibilities
Creative Decoration Ideas
Here are some stunning decoration techniques for your red velvet cake:
- Crumb coating for a smooth finish
- Piping intricate designs with cream cheese frosting
- Adding fresh red fruits like strawberries or raspberries
- Sprinkling cake crumbs around the sides for texture
Pro tip: For a professional look, use a cake turntable and an angled spatula at a 45-degree angle. This creates beautiful ribbed frosting effects.
Decorating is where your creativity truly shines – make your red velvet cake a personal masterpiece!
Common Baking Mistakes to Avoid
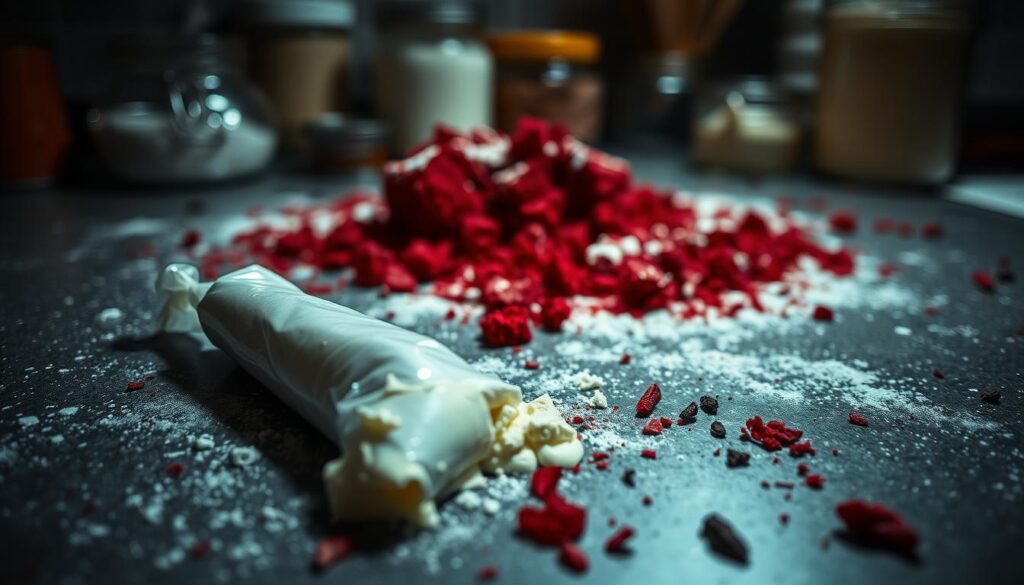
Baking the perfect homemade red velvet cake needs precision and detail. Even skilled bakers can make mistakes that affect the cake’s texture and taste. Knowing these common errors can help you make a delicious dessert every time.
Precision in Mixing
Overmixing your cake batter can ruin your cake. Home bakers often make tough, dense cakes by mixing too much. This can make the cake chewy, which is not what you want in a light red velvet cake.
- Mix ingredients just until combined
- Avoid aggressive stirring
- Stop mixing when ingredients are evenly distributed
Accurate Ingredient Measurement
Getting the right amount of ingredients is key for your homemade red velvet cake. Sadly, home bakers can add up to 50% more flour than needed because of wrong measuring.
- Use proper measuring tools
- Level dry ingredients with a straight edge
- Use liquid measuring cups for wet ingredients
- Weigh ingredients when possible
Precision is the secret ingredient in creating the perfect red velvet cake!
For your easy red velvet cake recipe, use fresh ingredients, especially baking powder and baking soda. These should be replaced every six to twelve months for the best rise and flavor. Remember, baking is a science that needs careful attention to detail and technique.
Serving Suggestions for Red Velvet Cake
Your classic red velvet cake deserves the perfect presentation and pairing. Whether you’re hosting a special celebration or enjoying a quiet dessert moment, knowing how to serve this delectable treat can elevate your culinary experience.
Perfect Beverage Pairings
Selecting the right drink can transform your best red velvet cake into an unforgettable indulgence. Consider these delightful beverage options:
- Hot Beverages
- Espresso
- Cappuccino
- Chai latte
- Cold Beverages
- Cold brew coffee
- Milk
- Sparkling wine
Ideal Occasions for Serving
A classic red velvet cake is versatile and suits multiple events. From intimate gatherings to grand celebrations, this dessert never disappoints.
- Birthday parties
- Wedding receptions
- Holiday gatherings
- Afternoon tea
- Corporate events
When serving, consider cutting precise slices and presenting the cake on elegant platters. A well-presented dessert can transform your dining experience and leave a lasting impression on your guests.
Storing Leftover Red Velvet Cake
Keeping your homemade red velvet cake fresh is key. It helps keep the taste and texture just right. With the right storage, you can enjoy it for days or even weeks.
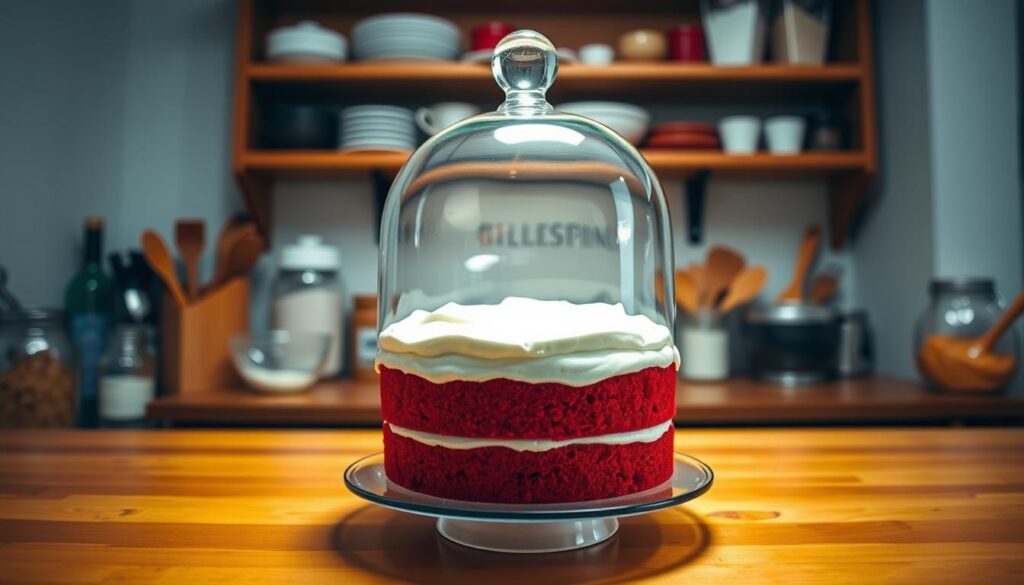
Handling your moist red velvet cake with care is important. The right storage can make it last longer and stay tasty.
Refrigeration Best Practices
Here’s how to store your red velvet cake in the fridge:
- Use an airtight container to prevent moisture loss
- Maintain a consistent fridge temperature of 37°F (3°C)
- Cover cake with plastic wrap before placing in container
- Consume within 3-5 days for optimal freshness
Freezing for Future Enjoyment
Freezing is great for keeping your cake fresh for longer. Here’s a guide to freezing:
| Cake Type | Freezer Storage Time | Thawing Method |
|---|---|---|
| Unfrosted Cake Layers | Up to 3 months | Refrigerator (24 hours) |
| Frosted Cake | Up to 3 months | Refrigerator (24-36 hours) |
Pro tip: Wrap cake layers individually in plastic wrap, then place in a freezer-safe container to prevent freezer burn.
By using these storage tips, you can enjoy your homemade red velvet cake whenever you want!
Variations on the Classic Recipe
Trying out different versions of the traditional red velvet cake can be a fun adventure. You might want to make a cake that fits special diets or just to try something new. These creative twists will spark your baking spirit.
Gluten-Free Red Velvet Cake Delight
Making a gluten-free red velvet cake is simpler than you might think. The trick is to pick the right flour substitutes. They should keep the cake’s texture and taste just right.
- Almond flour for a nutty undertone
- Gluten-free all-purpose flour blend
- Coconut flour for added moisture
Red Velvet Cupcakes: A Playful Twist
Turn your classic red velvet cake into cute cupcakes for parties or personal treats. You’ll need to adjust the baking time and method for the best results.
| Variation | Baking Time | Servings |
|---|---|---|
| Red Velvet Cupcakes | 18-22 minutes | 2 dozen |
| Red Velvet Cake Balls | 1 hour 10 minutes | 5 dozen |
| Red Velvet Spritz Cookies | 30 minutes | 8-1/2 dozen |
Pro tip: Use gel food coloring for the most vibrant red color in your cupcakes. The concentrated pigment ensures a striking visual appeal without altering the cake’s texture.
Baking is an art of creativity – don’t be afraid to experiment with your red velvet recipes!
Final Thoughts: Enjoying Your Creation
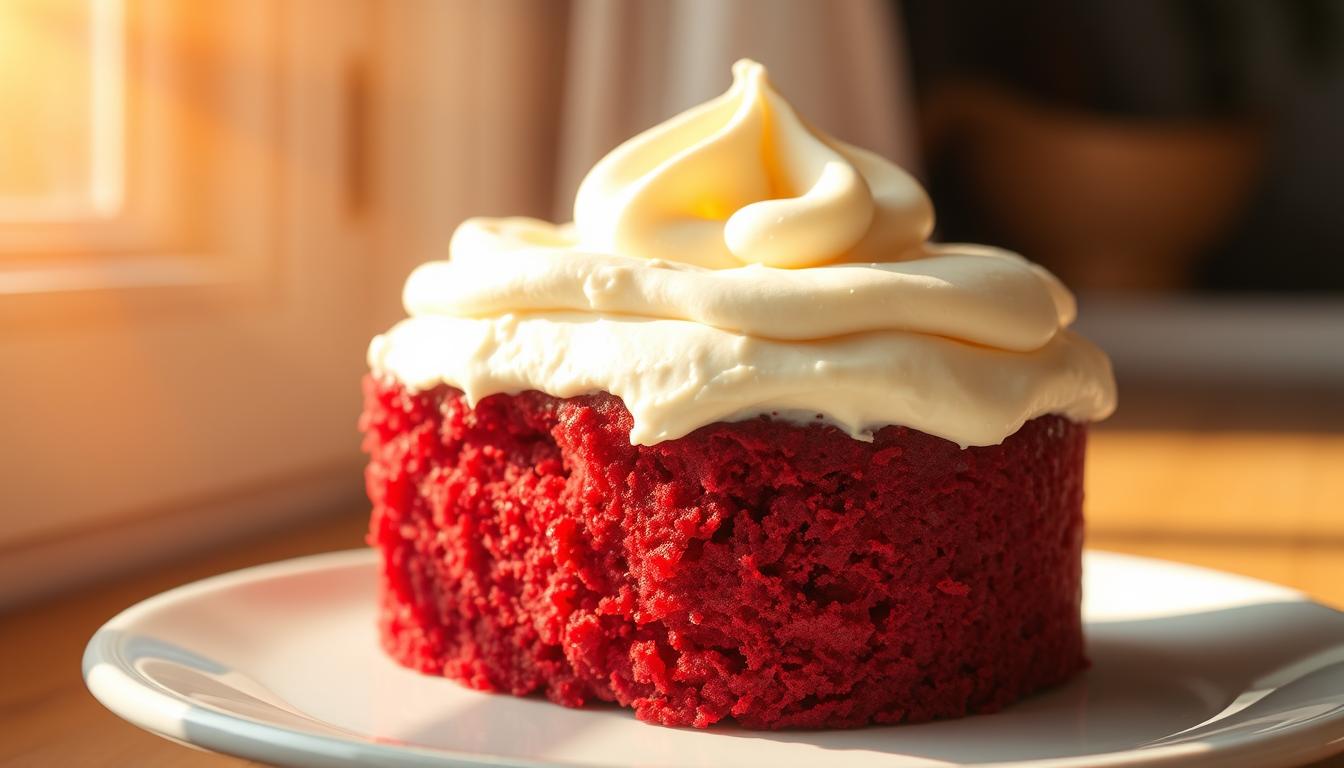
Baking the best red velvet cake is more than just following a recipe. It’s about creating a delightful experience that brings joy to you and your loved ones. Your homemade red velvet cake is a labor of love, crafted with precision and passion. Each slice tells a story of culinary skill and personal creativity.
Sharing your homemade red velvet cake can make any moment special. Whether it’s at a family gathering, a potluck, or just with afternoon tea, your cake will impress. The rich crimson layers and creamy frosting make it a true showstopper, inviting conversation and creating memorable moments.
Sharing Your Red Velvet Cake Experience
Don’t hesitate to document your baking journey. Take photos of your red velvet cake and share them with friends, family, or on social media. Your unique twist on this classic dessert might inspire others to try making their own version.
Inviting Feedback and Improvements
Every baking adventure is a chance to learn and grow. Ask for feedback from those who taste your cake and be open to suggestions. Each attempt brings you closer to perfecting your homemade red velvet cake technique. Embrace the process, experiment with ingredients, and enjoy the delicious results of your culinary skill.

